Six Weeks
It took six weeks to fix the kitchen floor, but so worth it! The floor was kind of like the elephant in the room.
The floor in the kitchen had been added to, but never removed, any of the existing floorings before adding to it; this was now a tripping hazard along with an eye sore.
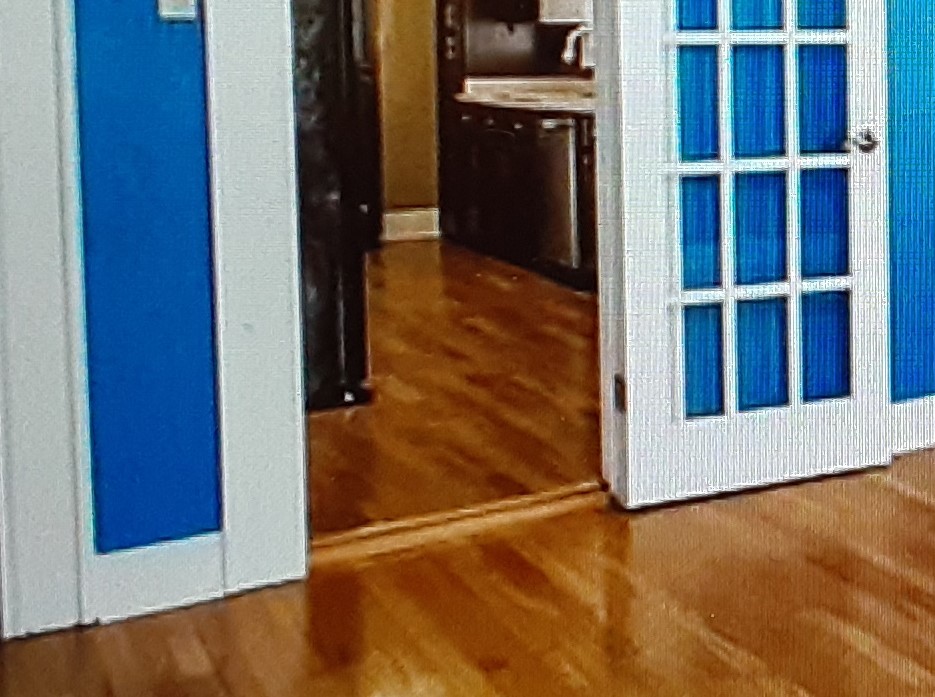
The question became, “what’s under the existing floor”? We could tell it was a floating floor. And we could see the many layers when we took the hall entrance to the kitchen out. There was the first layer of 1920s linoleum, then the 1950’s linoleum square tiles, on top of that was a sub-flooring, on top of that parquet wood floor, and finally, the current blue insulated floating flooring.
I took a deep breath and started to remove the floating floor.
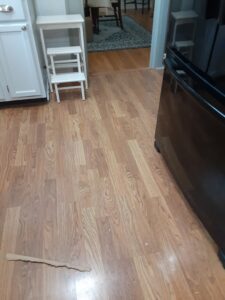
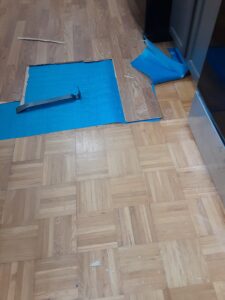
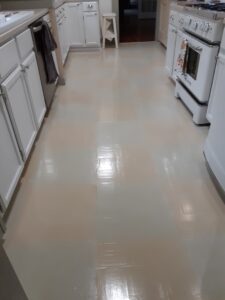
We were pleasantly surprised to find the wood parquet floor in excellent shape, and it begged the question, “why did they cover it up”? I’m not a big fan of parquet flooring, and maybe they weren’t, either. I needed to figure out what to do with it. And my solution? Paint, of course. But if this is my solution, I wanted it to last. I picked the checkerboard pattern by using the colors of the pantry and bead board; I just went a couple of shades lighter to create the design. I used floor paint, which took three coats and painted each square individually. Plus, sections at a time so we could still use the kitchen while I was painting. Then I sealed it with high-gloss polyurethane for hardwood floors.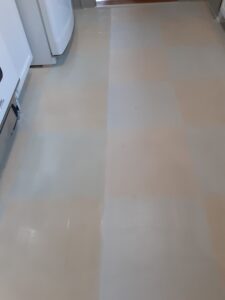
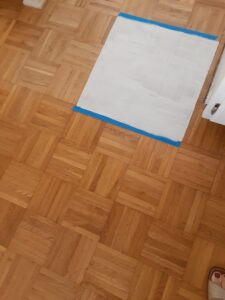
I’m pleased with the way it turned out.
2 Comments
Michelle Drury
Wow, I’m so impressed where do you get all your ideas from xxx
Robin
Nice!!!!!!!!!!